Configuring the X Window System
The Xconfigurator utility gives you the opportunity to configure the X server for your system.
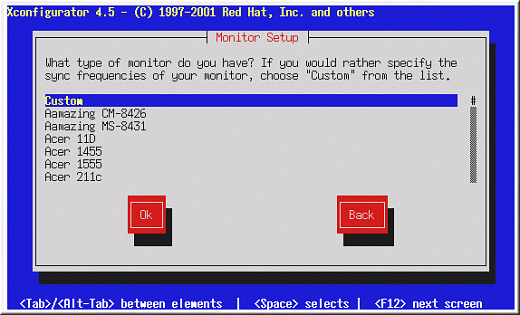
First, Xconfigurator displays a list of
monitors (see Figure 5-8). If your monitor
is listed, select it and press
If you select a monitor from the list, you will need to enter your video memory. See Figure 5-13.
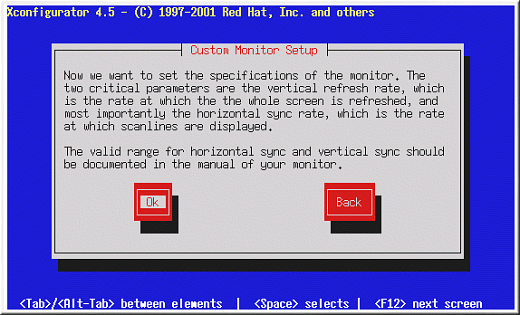
If you select Custom, Xconfigurator prompts you to select the horizontal sync range and vertical sync range of your monitor (these values are usually available in the documentation which accompanies your monitor, or from your monitor's vendor or manufacturer).
 | Caution |
|---|---|
Do not select any range that exceeds the capacity of your monitor. If you do this, it is possible you may overclock your monitor and damage or destroy it. |
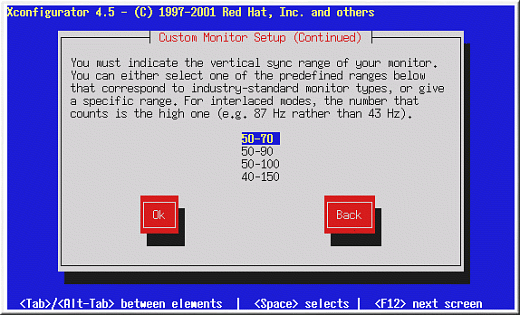
Choose a horizontal sync range for your monitor (see Figure 5-10). Be sure not to choose a range outside of your monitor's capacity. For custom settings, refer to Figure 5-12.

Next, choose a vertical sync range.
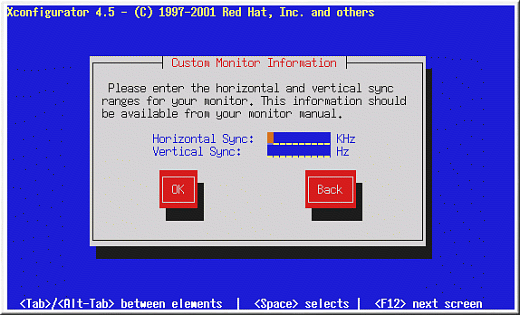
If you chose to enter custom monitor settings, please enter both the horizontal and vertical sync rages for your monitor (see Figure 5-12).
After you have selected your monitor (and its settings), you must choose the amount of memory provided by your video card (see Figure 5-13).
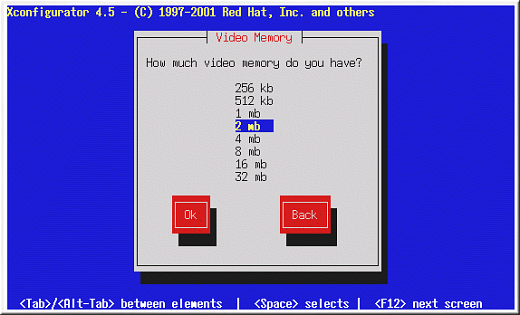
If you are not sure how much memory your card has, consult the documentation accompanying your video card. Choosing more memory than is present in your card will not damage it, but may cause the XFree86 server to start incorrectly.
Next, choose a clockchip setting if your video card supports it (if it has one). The recommended choice is No Clockchip Setting, since XFree86 can automatically detect the proper clockchip in most cases.

To choose your preferred display mode (see Figure 5-15), select one or more modes by pressing
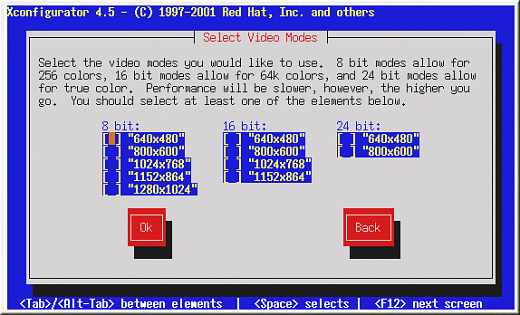
 | Tip |
|---|---|
The minimum recommended settings for video modes are 16 bit for most applications in 1024 x 768. Video modes set higher than 16 bit can run more slowly. |
Do not select a mode that exceeds the capacity of your monitor.
Once you have either selected the default video mode or specified a different mode, the Starting X dialog lets you test your X configuration.
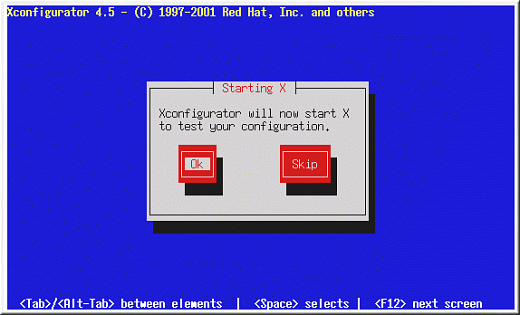
If you select OK, you will have the opportunity to go back and enter different configuration values, if an error occurs. If no error occurs, X will start and a small display window will ask you if you can read its contents clearly; using the mouse, click Yes within ten seconds. Then you will be asked whether you want X to start when the system boots.
In most cases, X configuration is complete at this point, and you will see the completion screen.
Xconfigurator then saves all of your choices to the configuration file /etc/X11/XF86Config or /etc/X11/XF86Config-4. To modify your X configuration after installation, issue the Xconfigurator command as root.